


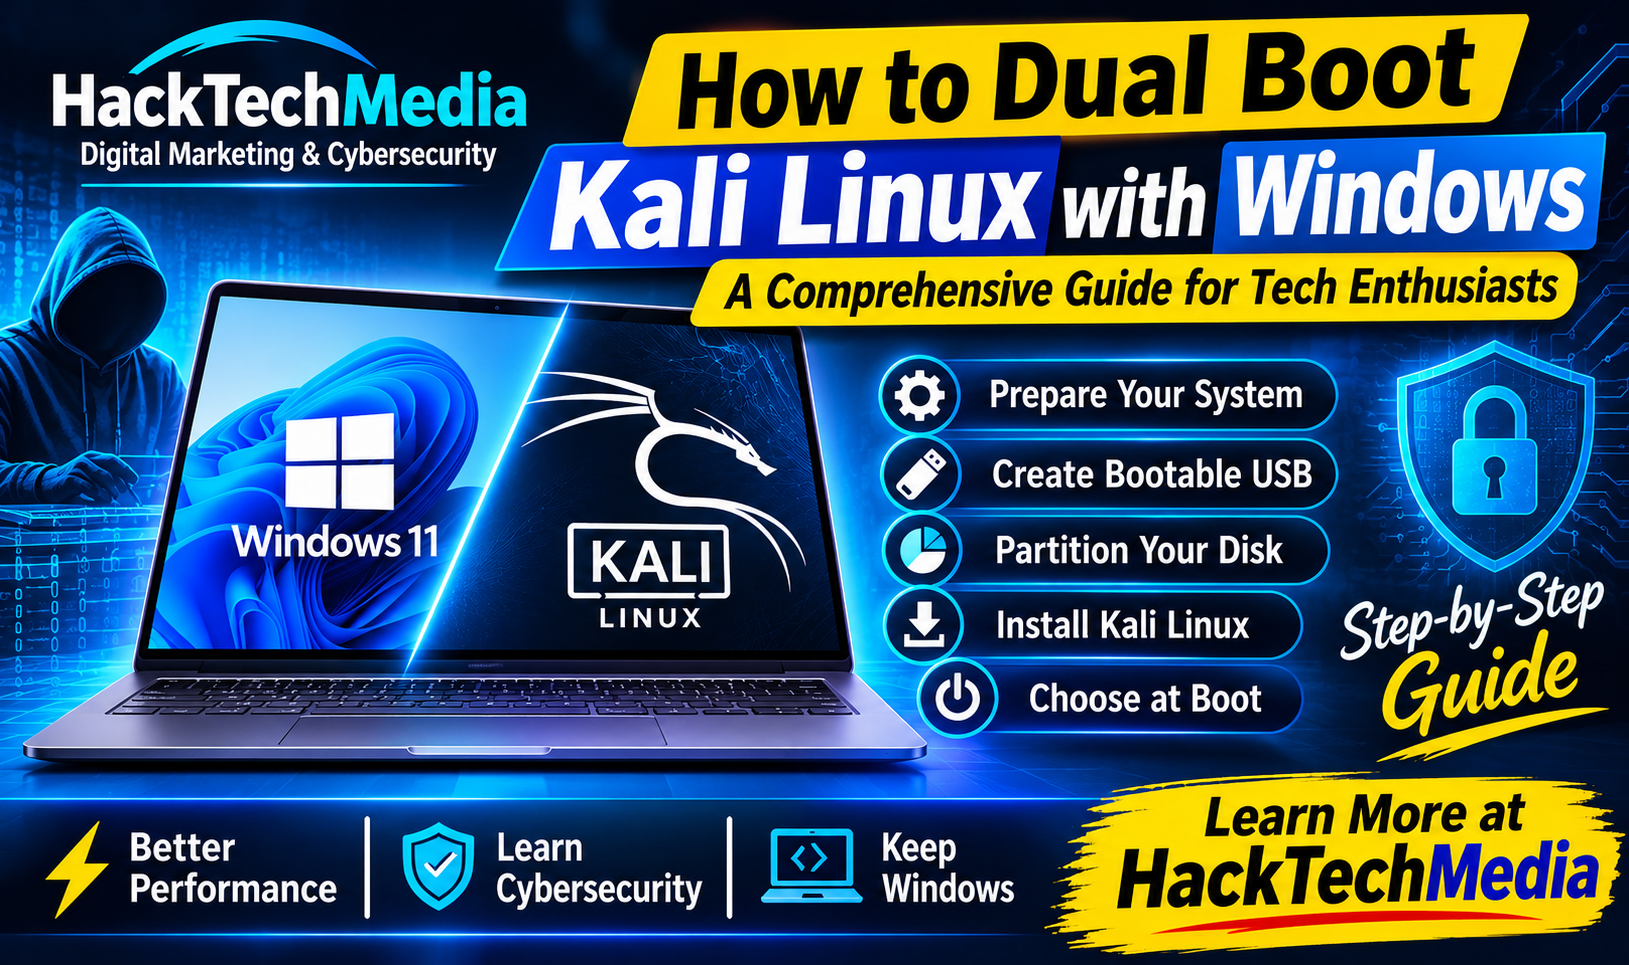
Kali Linux is one of the most popular Linux distributions for cybersecurity professionals, ethical hackers, penetration testers, security researchers, and students. While Kali Linux can be installed as a virtual machine, running it directly alongside Windows through dual booting can provide better access to system resources and hardware.
In this comprehensive guide, HackTechMedia explains how to dual boot Kali Linux with Windows safely, from preparing your computer and creating a bootable USB to partitioning the disk, installing Kali Linux, configuring the boot menu, and troubleshooting common problems.
Important: Dual-boot installation modifies your computer's disk partitions. Always back up important Windows data before proceeding. Kali Linux's official documentation also emphasizes taking a backup before modifying the disk. Kali Linux
What Is Dual Booting?
Dual booting means installing two operating systems on the same computer so that you can choose which one to start when the computer boots.
For example, your computer could have:
- Windows 11 for everyday work, office applications, gaming, and general use.
- Kali Linux for cybersecurity labs, networking, ethical hacking, security testing, and Linux administration.
When the computer starts, a boot menu can allow you to select either Windows or Kali Linux.
This is different from running Kali inside VirtualBox or VMware. With dual booting, Kali Linux runs directly on your computer's hardware rather than inside a virtual machine.
Why Dual Boot Kali Linux with Windows?
There are several reasons cybersecurity students and technology enthusiasts choose dual booting.
1. Better Hardware Performance
A native Kali installation can access your computer's processor, memory, storage, and compatible hardware directly.
This can be useful when running resource-intensive cybersecurity tools.
2. Practical Linux Experience
If you're learning cybersecurity, understanding Linux administration is extremely valuable. A dual-boot environment gives you an opportunity to work with Linux as a complete operating system.
3. Hardware and Network Testing
Some security labs require direct access to hardware or networking features that may behave differently inside virtual machines.
4. Keep Windows
You don't have to remove Windows. Dual booting allows you to maintain Windows for your normal activities while having Kali available for cybersecurity learning.
Before You Start: Important Requirements
Before installing Kali Linux, make sure your computer is prepared.
You should have:
- A Windows 10 or Windows 11 computer
- A USB flash drive, preferably 8 GB or larger
- Stable internet access
- Sufficient free storage
- A backup of important Windows files
- Kali Linux ISO
- Software for creating a bootable USB
- Basic knowledge of BIOS/UEFI and disk partitions
Kali Linux supports modern 64-bit systems and can work with newer UEFI systems as well as older BIOS-based hardware. Kali's current installation documentation recommends adequate storage and memory, with 20 GB of disk space suggested for a standard desktop installation. Kali Linux
For a comfortable cybersecurity learning environment, however, we recommend allocating at least 40–60 GB if your storage allows it.
Step 1: Back Up Your Windows Data
This is the most important step.
Before modifying partitions, create a backup of:
- Documents
- Photos
- Videos
- Work files
- Browser data
- Project files
- Important application data
Save the backup to an external drive or another trusted storage location.
Why?
Because partitioning operations can potentially cause data loss if the wrong partition is modified or an unexpected interruption occurs.
Kali's official dual-boot documentation specifically warns that disk modification can go wrong and recommends keeping Windows backups on external media. Kali Linux
Step 2: Check Your Windows Disk Configuration
Before creating space for Kali, inspect your existing Windows partitions.
In Windows:
Right-click Start → Disk Management
Alternatively, press:
Windows + R → type diskmgmt.msc → Enter
Microsoft's Disk Management utility allows Windows users to view, shrink, extend, and manage disk volumes.
Look for your primary Windows partition, normally the partition containing your Windows installation.
Do not randomly delete partitions.
You may see partitions such as:
- EFI System Partition
- Windows partition
- Recovery partition
- OEM partitions
These partitions may have important boot or recovery functions.
Step 3: Check BitLocker or Device Encryption
Modern Windows computers may use BitLocker or Device Encryption.
Before changing your disk configuration, make sure you understand whether encryption is enabled and, most importantly, make sure you have access to your Windows recovery key.
A firmware or boot configuration change can sometimes cause Windows to request the BitLocker recovery key.
Therefore, don't begin a dual-boot installation without knowing where your recovery key is stored.
For business or professional systems, consult your organization's IT administrator before modifying the disk.
Step 4: Disable Fast Startup
Windows Fast Startup can interfere with Linux access to Windows partitions.
Kali's official dual-boot instructions specifically recommend disabling Fast Startup before resizing the Windows partition.
You can generally find the setting under:
Control Panel → Hardware and Sound → Power Options → Choose what the power buttons do
Then select:
Change settings that are currently unavailable
Disable:
Turn on fast startup
Save your changes.
Step 5: Create Unallocated Space for Kali Linux
You now need to create space for Kali.
In Disk Management:
- Right-click your Windows partition.
- Select Shrink Volume.
- Enter the amount of space you want to free.
- Confirm the operation.
- You should now see Unallocated Space.
For example, if you have a 512 GB SSD, you might consider allocating around 50–100 GB to Kali depending on your needs.
Suggested storage allocation
Use CaseSuggested Kali SpaceBasic learning30–40 GBCybersecurity student50–60 GBSecurity labs60–100 GBAdvanced lab environment100 GB+
Kali's documentation lists 20 GB as a recommended minimum for a standard desktop installation, but allocating additional storage gives you more room for tools, updates, wordlists, labs, and projects.
Important: Leave the new space unallocated. Don't format it as NTFS for Windows.
Step 6: Download Kali Linux
Download Kali Linux from the official Kali Linux website rather than an unofficial mirror or random download site.
Choose the appropriate 64-bit image for your computer.
For a dual-boot installation, Kali's official guide uses the Live image, which allows you to boot into Kali and work with the disk structure before installation.
After downloading the ISO, verify its integrity using the checksums provided by Kali whenever possible.
This helps protect against corrupted or tampered installation media.
Step 7: Create a Bootable Kali USB
Use a trusted USB imaging utility to write the Kali ISO to your USB drive.
The process generally involves:
- Insert your USB drive.
- Open your USB imaging software.
- Select the Kali Linux ISO.
- Select your USB drive.
- Start the writing process.
- Safely eject the USB after completion.
Warning: Creating bootable media normally erases the existing contents of the selected USB drive.
Step 8: Enter BIOS/UEFI
Restart your computer and open the boot menu or BIOS/UEFI setup.
The key varies by manufacturer. Common keys include:
- F2
- F10
- F12
- Delete
- Esc
Look for a boot option similar to:
UEFI: USB Drive
Select the USB device.
For a modern Windows computer, maintaining a consistent UEFI + GPT installation is generally preferable.
Step 9: Secure Boot Considerations
Secure Boot can affect Kali installation depending on the specific image, firmware configuration, and hardware.
Kali's installation documentation notes that its standard installation kernel is not signed for Secure Boot and therefore may require Secure Boot to be disabled.
If your Kali USB refuses to boot, check the manufacturer's UEFI settings and Kali's current documentation before changing firmware options.
Do not change random BIOS settings.
Record your original settings before making changes.
Step 10: Boot Into Kali Linux
After successfully booting from the USB, you'll see the Kali Linux boot environment.
For the dual-boot workflow described by Kali, select:
Live
This allows you to use Kali without immediately installing it.
The advantage is that you can inspect the computer and prepare the disk without having Windows actively using its partitions.
Step 11: Start the Kali Installation
From the Kali environment, launch the installer.
Follow the setup screens for:
- Language
- Location
- Keyboard layout
- Network
- Username
- Password
- Time zone
Use a strong password for your Kali account.
If you're learning cybersecurity, don't use weak passwords simply because Kali is a laboratory environment.
Step 12: The Most Important Part — Partitioning
When the installer reaches disk partitioning, slow down and read everything carefully.
This is where many beginners make mistakes.
Because Windows is already installed, you do not want an option that says:
Use entire disk
That could erase Windows.
Instead, Kali's dual-boot documentation recommends selecting:
Guided – use the largest continuous free space
when the unallocated space has already been created.
This tells the installer to use the free space rather than replacing your existing Windows installation.
Always check:
- Correct disk
- Correct free space
- Windows partition remains untouched
- EFI partition is not accidentally deleted
- Recovery partitions remain intact
Before accepting the final partition changes, review the proposed layout carefully.
Step 13: Install the GRUB Bootloader
During installation, Kali will configure its bootloader.
The bootloader is important because it allows you to choose between operating systems.
Kali's installation documentation describes installing GRUB and selecting the appropriate disk for the bootloader.
After installation, reboot the computer.
Remove the USB drive when prompted.
Step 14: Choose Windows or Kali Linux
If everything went correctly, your computer should display a boot menu.
You may see entries for:
- Kali GNU/Linux
- Windows Boot Manager
- Advanced options for Kali
Select:
Kali GNU/Linux
to start Kali.
Select:
Windows Boot Manager
to start Windows.
This is the main advantage of dual booting: both operating systems remain available on the same computer.
Step 15: Update Kali Linux
After successfully entering Kali, connect to the internet and update your system.
A typical update process is:
sudo apt update
sudo apt full-upgrade
Then reboot if required.
Keeping the operating system and security tools updated is an important part of maintaining a reliable cybersecurity lab.
Common Dual-Boot Problems
1. Windows Doesn't Appear in GRUB
Sometimes the GRUB menu doesn't show Windows.
Kali provides an official troubleshooting procedure for situations where another operating system isn't detected.
One approach involves checking the GRUB configuration and enabling OS detection:
sudo nano /etc/default/grub
Look for:
GRUB_DISABLE_OS_PROBER=false
Then update GRUB:
sudo update-grub
Reboot and check whether Windows appears.
Do not blindly edit boot configuration if you're unfamiliar with Linux. A mistake can make troubleshooting more complicated.
2. Computer Boots Directly Into Windows
If Windows starts automatically, enter your UEFI/BIOS boot settings.
Look for boot entries such as:
- Windows Boot Manager
- Kali
- Linux
- Ubuntu/Debian-related EFI entry
The exact naming depends on the system firmware.
You may also be able to use the temporary boot menu to select the Kali boot entry.
3. Windows Requests a BitLocker Recovery Key
This can occur after firmware or boot configuration changes.
Use your legitimate Windows recovery key.
This is exactly why we recommended locating your recovery key before starting the installation.
If you don't have the recovery key, stop and investigate your Windows encryption configuration before proceeding further.
4. Kali USB Does Not Boot
Possible causes include:
- Incorrect ISO
- Damaged USB
- Incorrect boot mode
- Secure Boot configuration
- Incorrect USB creation method
- UEFI configuration
Try recreating the USB using a verified Kali ISO and check the manufacturer's UEFI settings.
5. Disk Space Is Not Available
If Windows refuses to shrink the partition as much as expected, first make sure you have sufficient free space.
Also consider:
- Removing unnecessary files
- Running Windows storage cleanup
- Optimizing the drive where appropriate
- Ensuring Fast Startup is disabled
Avoid using random partition-management commands from the internet unless you understand exactly what they do.
Dual Boot vs Virtual Machine
Which approach should you choose?
FeatureDual BootVirtual MachinePerformanceExcellentGoodWindows & Kali simultaneouslyNoYesEasy to removeModerateEasyHardware accessBetterLimitedDisk partition changesRequiredUsually noBeginner friendlyModerateEasierCybersecurity lab useExcellentExcellent
For beginners, a virtual machine is often a safer starting point because it doesn't require modifying the Windows partition.
For users who need native hardware performance or want deeper Linux experience, dual booting can be a good option.
Security Tips for Kali Linux Users
Kali Linux is a powerful cybersecurity platform, but having Kali installed doesn't automatically make someone a cybersecurity professional.
Use your tools responsibly.
Practice against:
- Your own systems
- Authorized lab environments
- Capture-the-Flag platforms
- Training machines
- Systems for which you have explicit permission to test
Never scan, exploit, or attempt to access systems without authorization.
Cybersecurity skills should be used to identify vulnerabilities, improve security, and protect systems, not to cause unauthorized damage.
Is Kali Linux Suitable for Everyday Use?
Kali Linux is primarily designed for penetration testing, security auditing, digital forensics, reverse engineering, and related security work.
If you're looking for a general-purpose Linux desktop, distributions such as Ubuntu, Linux Mint, or Fedora may be more convenient.
However, for cybersecurity students and professionals, Kali provides a specialized environment with a large collection of security tools.
Final Checklist Before You Begin
Use this checklist before installing Kali Linux alongside Windows:
- Windows data backed up
- BitLocker/recovery key checked
- Fast Startup disabled
- Enough free disk space available
- Kali Linux ISO downloaded from an official source
- ISO integrity verified
- Bootable USB created
- UEFI settings understood
- Secure Boot requirements checked
- Windows partition identified
- Unallocated space created
- Correct disk selected during Kali installation
- "Entire disk" option avoided
- GRUB installation reviewed
- Windows Boot Manager remains available
Conclusion
Dual booting Kali Linux with Windows is an excellent way for technology enthusiasts, cybersecurity students, ethical hackers, and security professionals to build a practical Linux environment while keeping Windows available for everyday tasks.
The most important part of the process isn't simply installing Kali—it's preparing the Windows installation correctly and handling disk partitions carefully.
Always back up your data, understand your UEFI and disk configuration, preserve the Windows recovery environment, and carefully review every partitioning screen before confirming changes.
Kali Linux's official documentation follows the same fundamental approach: create free space, avoid modifying the existing Windows partitions unnecessarily, install Kali into the available space, and configure GRUB to provide access to both operating systems.
For cybersecurity learners, dual booting can become the foundation of a powerful personal security lab where you can learn Linux administration, networking, vulnerability assessment, penetration-testing concepts, and defensive security techniques in an authorized environment.
Learn Cybersecurity with HackTechMedia
At HackTechMedia, we help students and technology enthusiasts build practical skills in cybersecurity, ethical hacking, network security, vulnerability assessment, penetration testing, and security fundamentals.
Our cybersecurity training focuses on practical learning, real-world concepts, projects, certification preparation, mock interviews, and career-oriented development.
HackTechMedia — Digital Marketing & Cybersecurity Training
📍 CBD Belapur, Navi Mumbai
📞 7506590900
If you're beginning your cybersecurity journey, learning Linux and building a safe hands-on lab are excellent first steps.